Lark Channel Configuration
Lark channels receive messages via WebSocket long connections , requiring no public IP address or webhook; sending messages uses the Lark Open Platform Open API. It supports sending and receiving text, images, and files; in group chat scenarios chat_id, messages are message_idincluded in the request message’s metadata for easier downstream deduplication and group context recognition.
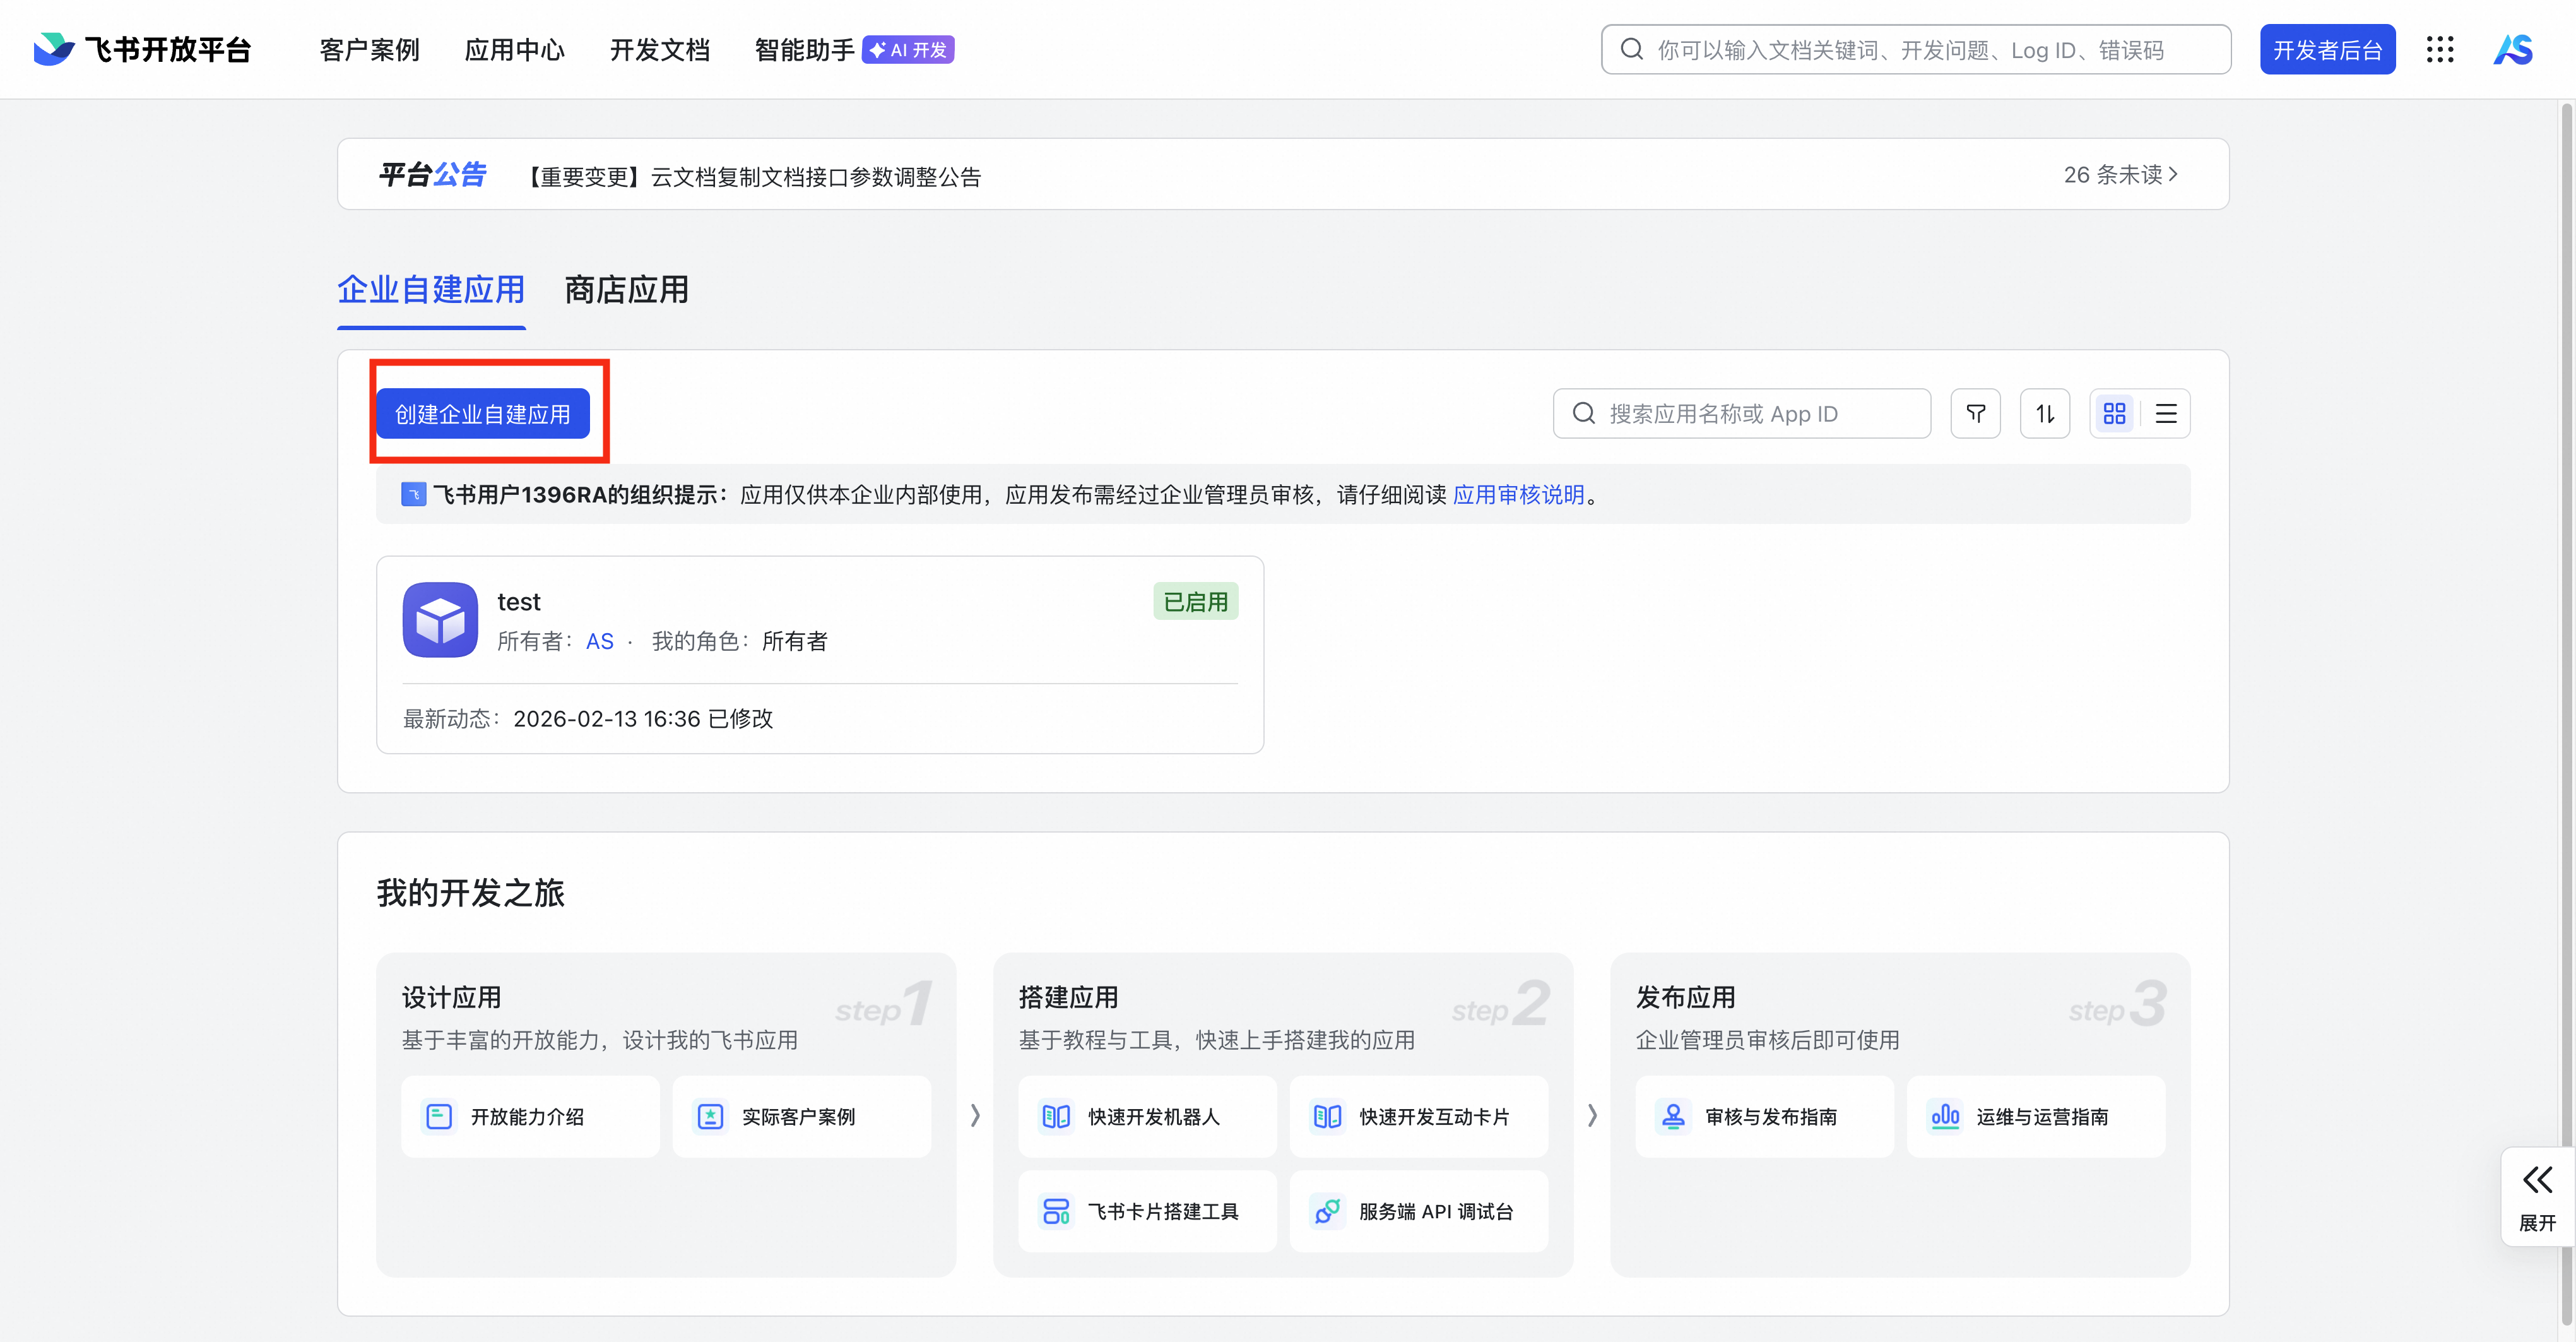
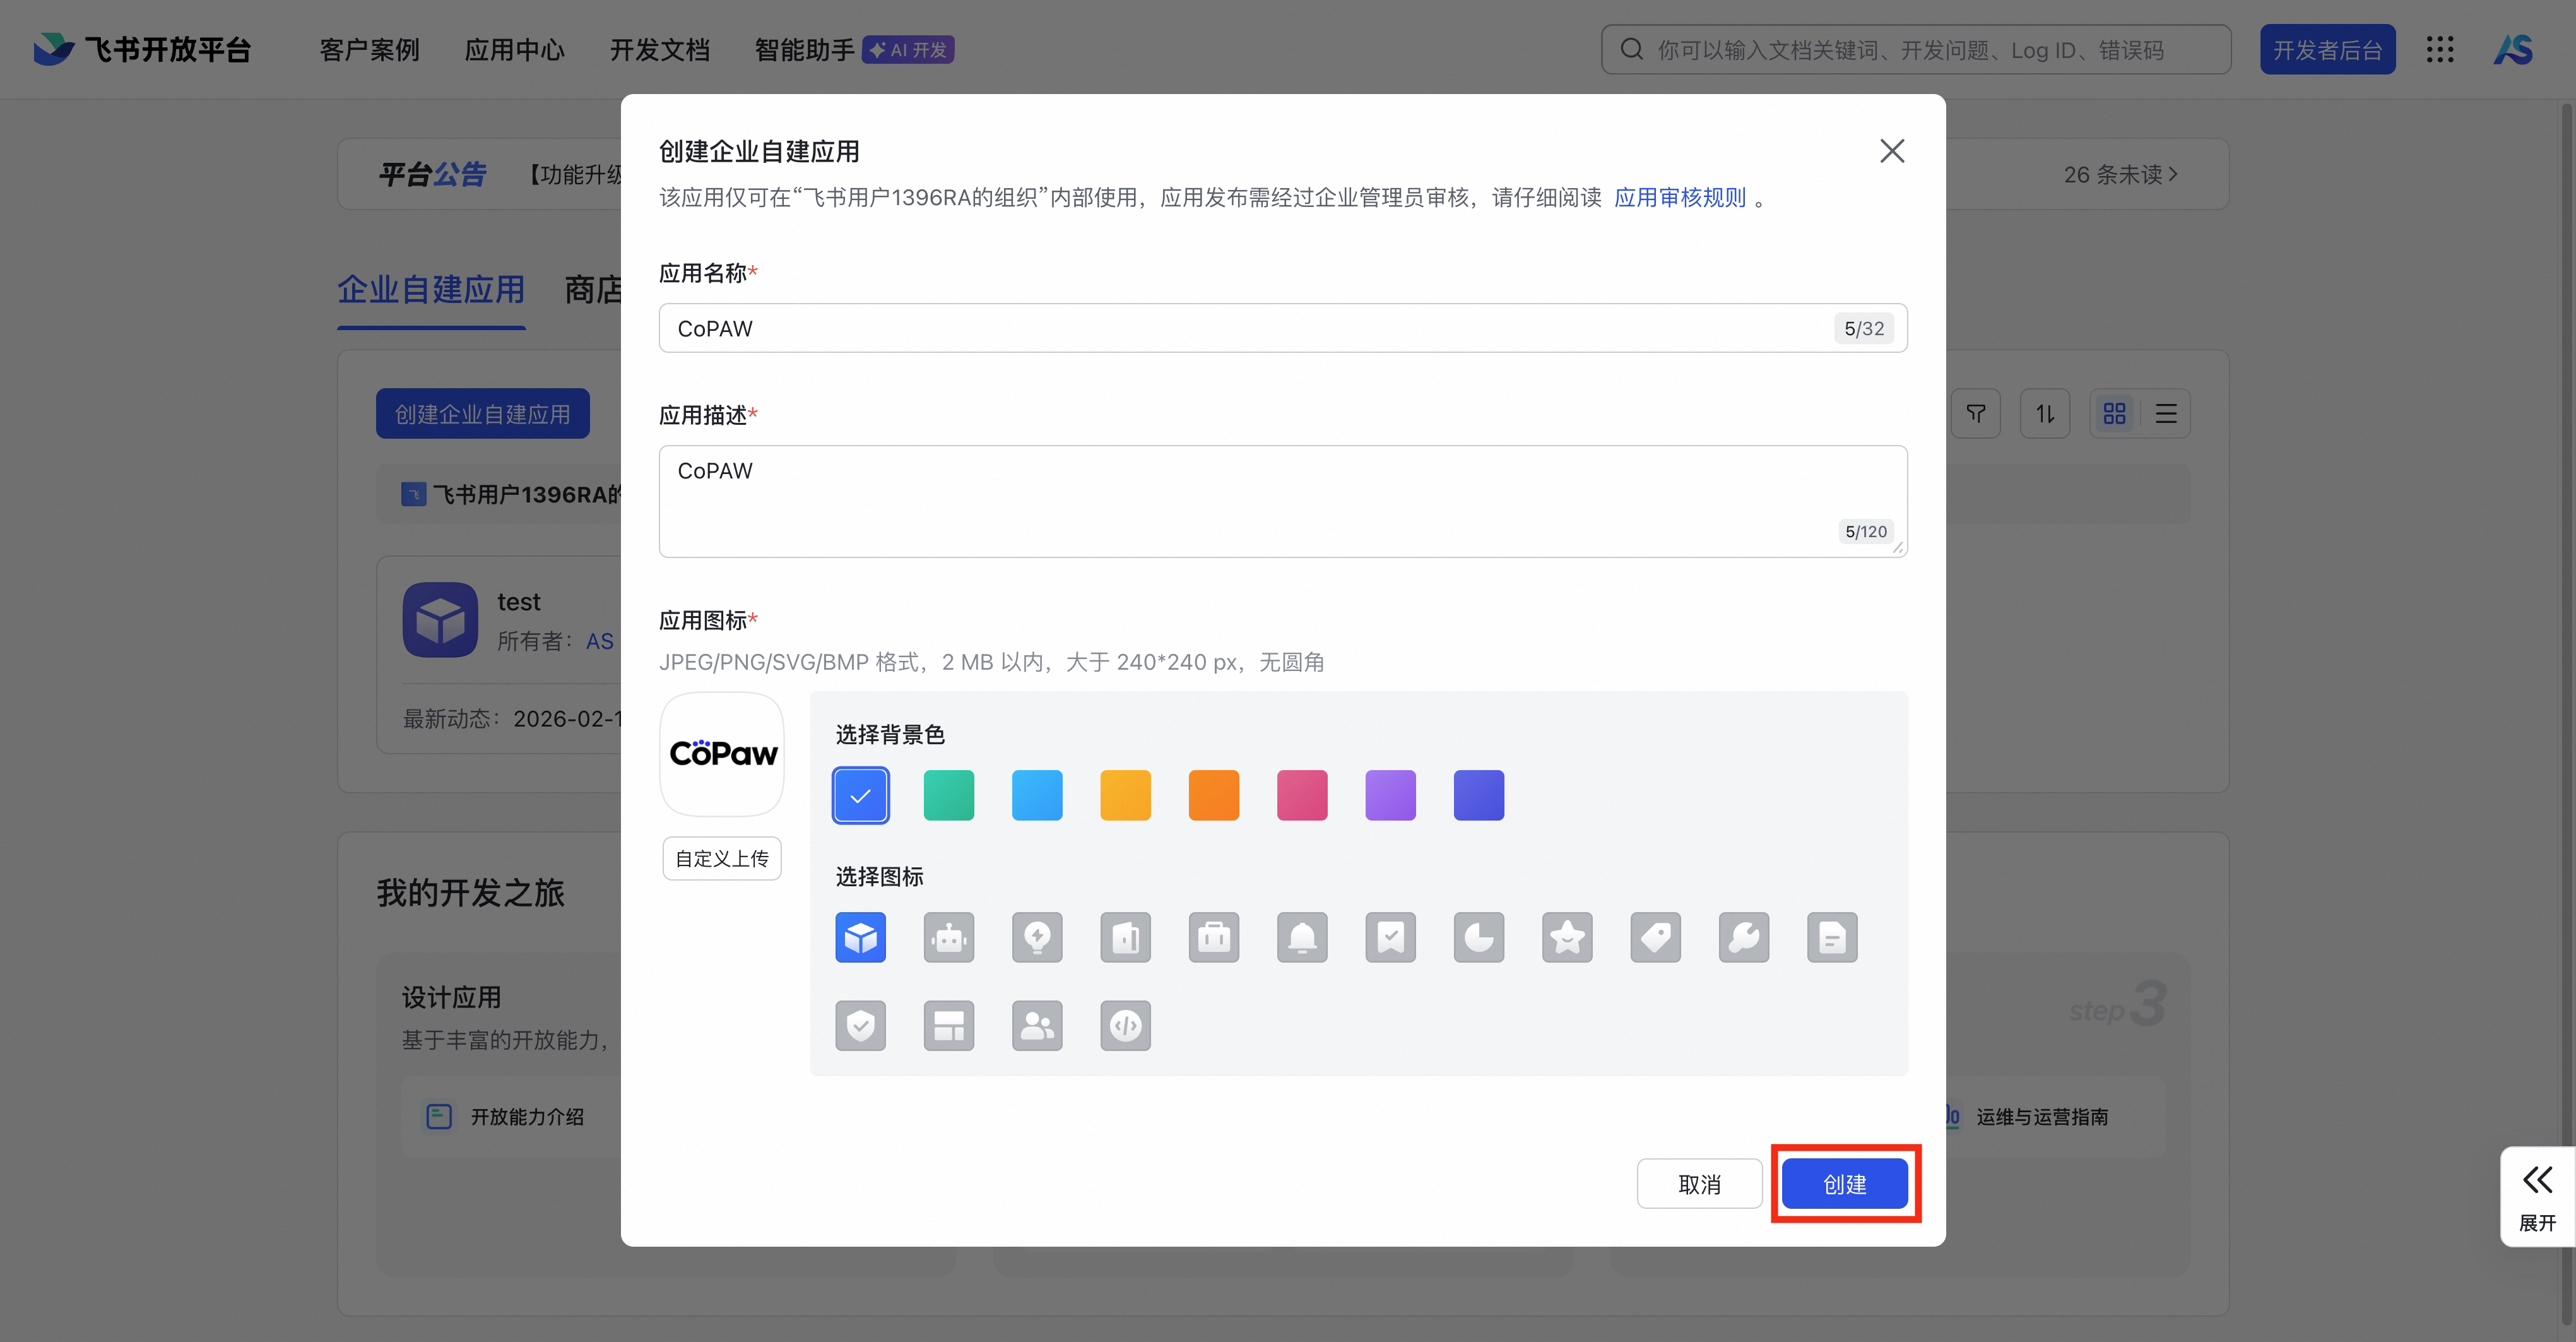
Create a Lark application and obtain credentials
- Open Lark Open Platform and create your own enterprise application.
- Obtain the App ID and App Secret from “Credentials and Basic Information”.

- Enter the App ID and App Secret as described above in the front-end page and save.
- Execute the exit and restart the software startup service.
- Return to the Lark Open Platform and enable the robot in “Capabilities”.
- Select “Batch Import/Export Permissions” under “Permission Management” and copy the following JSON code into it.
{
  "scopes": {
    "tenant": [
      "aily:file:read",
      "aily:file:write",
      "aily:message:read",
      "aily:message:write",
      "corehr:file:download",
      "im:chat",
      "im:message",
      "im:message.group_msg",
      "im:message.p2p_msg:readonly",
      "im:message.reactions:read",
      "im:resource",
      "contact:user.base:readonly"
    ],
    "user": []
  }
}
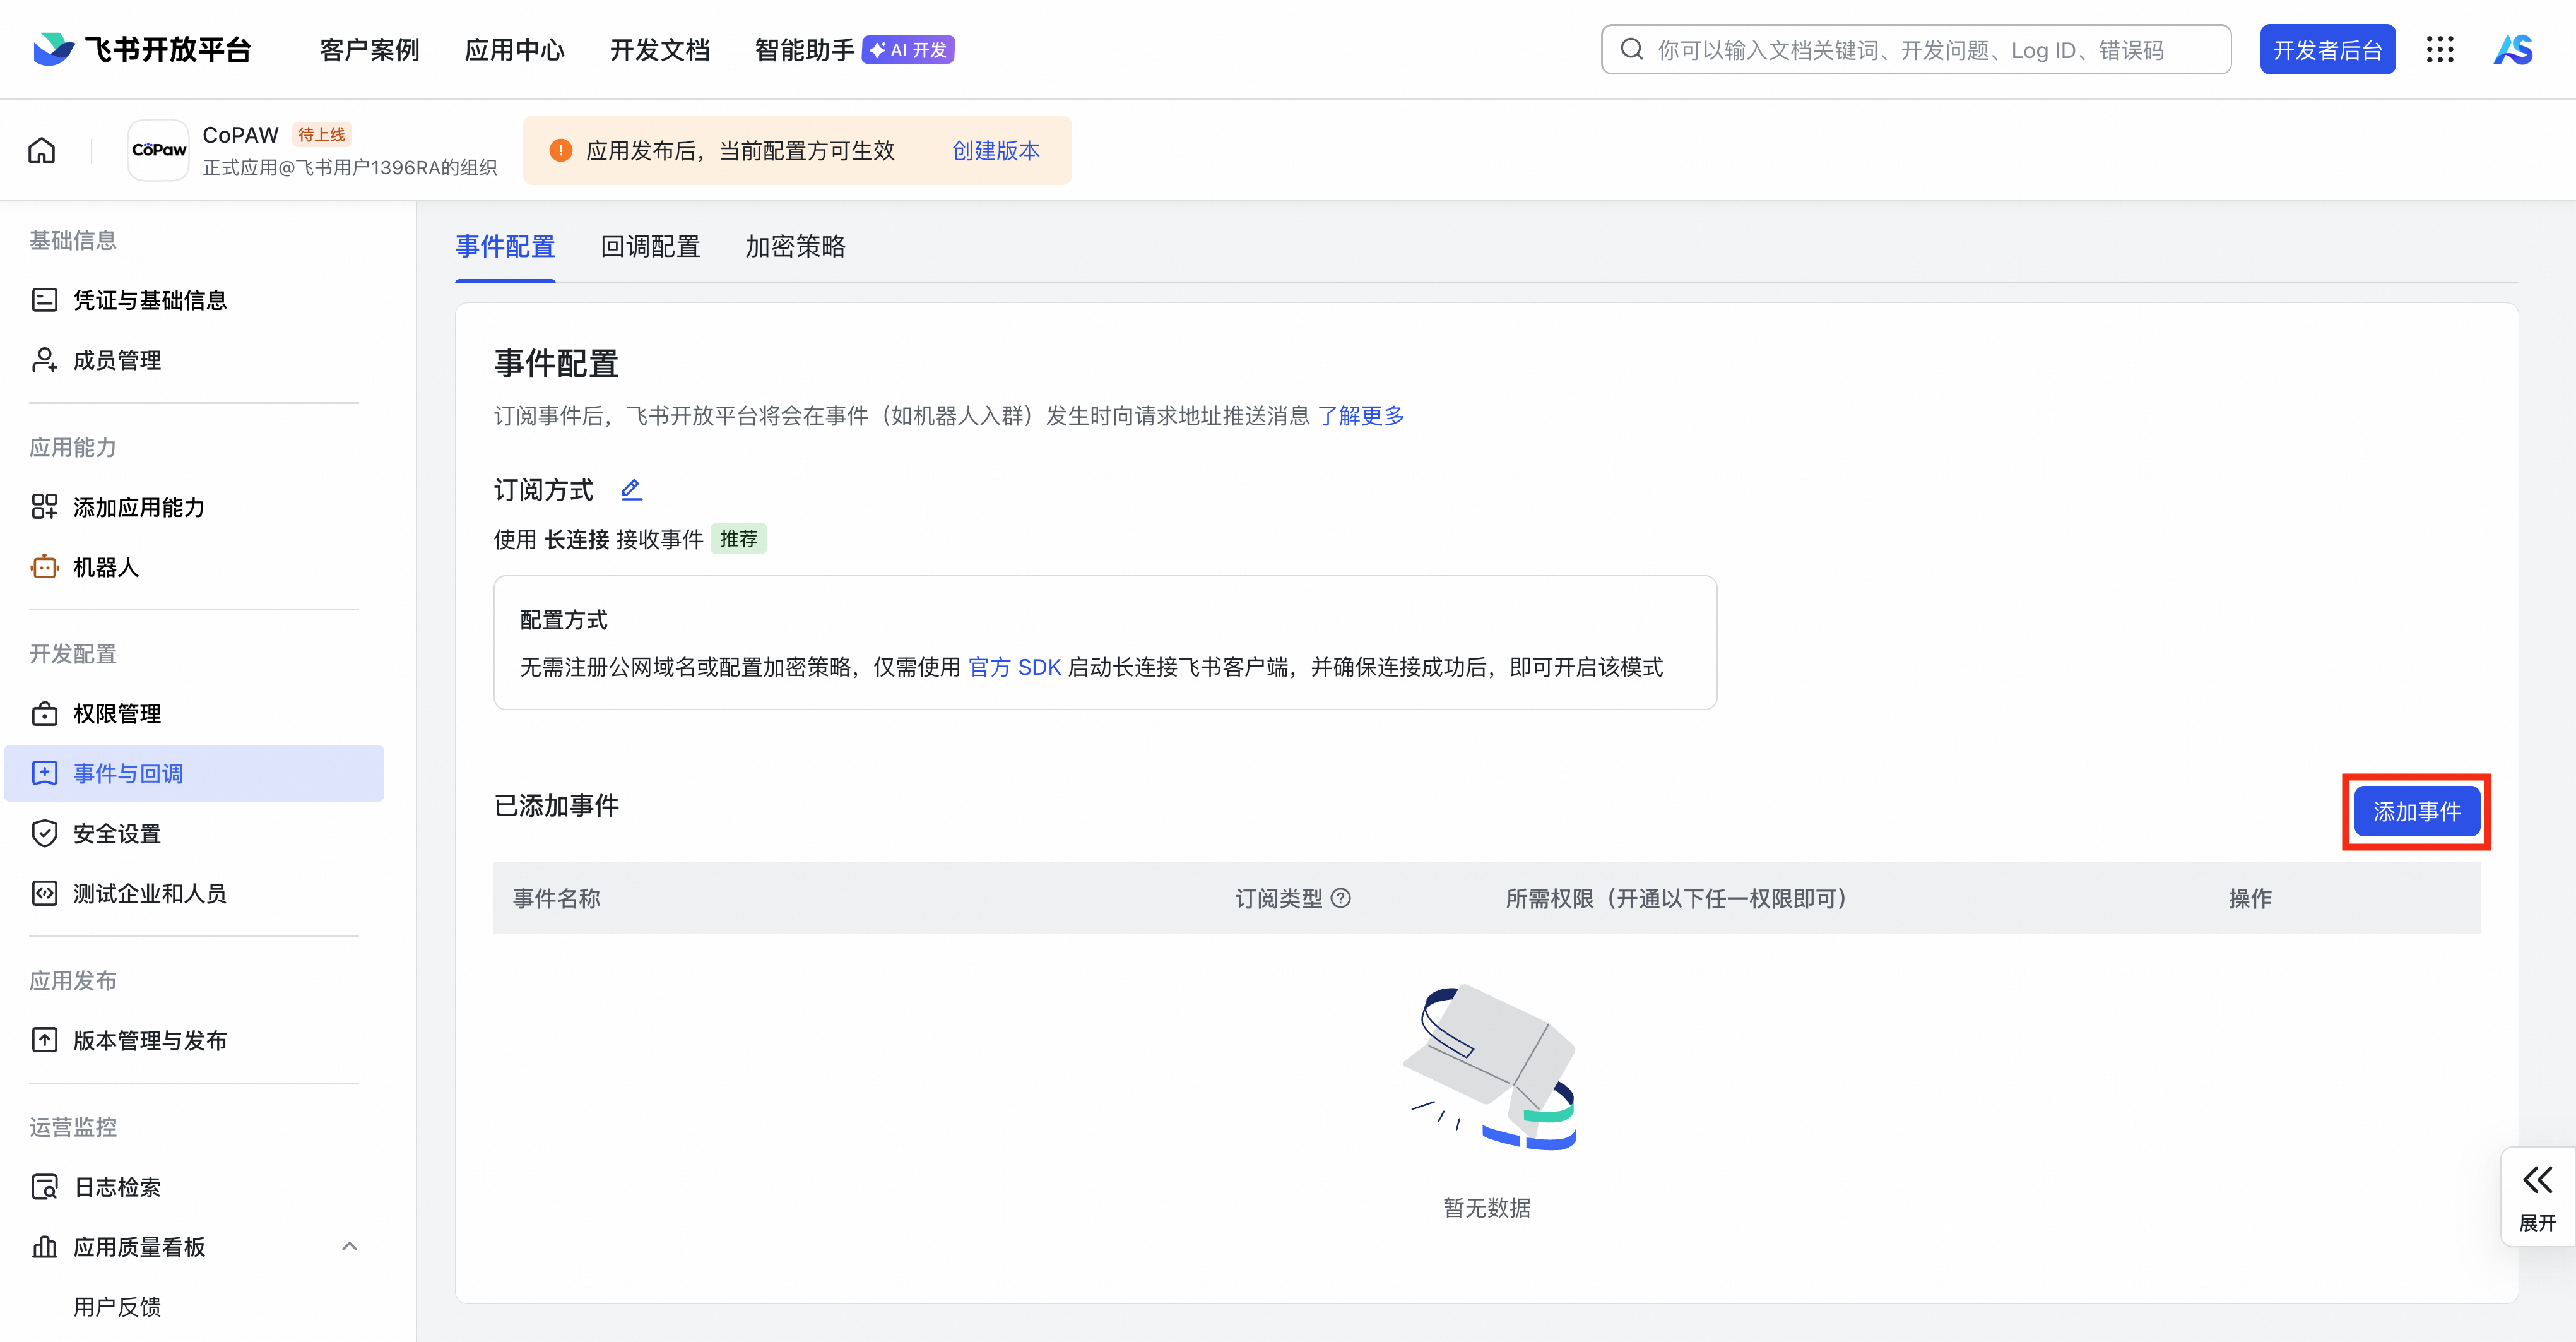
- In “Events and Callbacks”, click “Event Configuration” and select the long-lived connection (WebSocket) mode as the subscription method (no public IP required).
Note: The operation sequence is as follows: first configure the App ID/Secret on the front end → exit and restart the software → then configure the long connection on the open platform. If an error is still displayed here, try ending the software and restarting it.
- Select “Add Event,” search for received messages , and subscribe to Message Receiving v2.0.
- In the “Version Management and Release” section of “Application Release”, create a version , fill in the basic information, save , and release.


Enter App ID and App Secret
Other fields (encrypt_key, verification_token, media_dir) are optional. WebSocket mode can be left blank and has default values.
Note: App ID and App Secret information can be filled in on the front end, but you need to restart the software before you can continue configuring the long link.

Robot Permission Suggestions
The JSON file in step 6 configures the application with the following permissions (application identity, enabled) to ensure normal message sending and receiving and file transfer:
| Permission Name | Permission ID | Permission types | illustrate |
|---|---|---|---|
| Get File | aily:file:read | Application Identity | – |
| Upload File | aily:file:write | Application Identity | – |
| Get Message | aily:message:read | Application Identity | – |
| Send message | aily:message:write | Application Identity | – |
| Download file | corehr:file:download | Application Identity | – |
| Get and update group information | im:chat | Application Identity | – |
| Get and send one-on-one chat and group messages | im:message | Application Identity | – |
| Retrieve all messages in the group (sensitive permission) | im:message.group_msg | Application Identity | – |
| Read one-on-one chat messages sent by the user to the bot | im:message.p2p_msg:readonly | Application Identity | – |
| View message emoticon replies | im:message.reactions:read | Application Identity | – |
| Obtaining and uploading image or file resources | im:resource | Application Identity | – |
| Read contacts by application identity | contact:user.base:readonly | Application Identity | See below for instructions |
Retrieving User Nicknames (Recommended) : To display user nicknames (e.g., “Zhang San#1d1a”) instead of “unknown#1d1a” in conversations and logs, you need to additionally grant read-only access to the contacts list to read the contacts as an application
contact:user.base:readonly. Without this permission, Lark only returns identity fields such as open_id, not the name, and CoPAW cannot parse the nickname. After granting permission, you need to republish/update the application version; once the permission takes effect, the user name will be displayed correctly.
Add the robot to favorites
- Click ” Add Frequently Used” in the workbench .
- Search for the name of the robot you just created and add it.
- You can see that the robot has been added to your favorites list. Double-click to enter the chat interface.


